In heavy industry, tool failure is not just an inconvenience; it can result in critical shutdowns, damage high-value workpieces and reduce profitability.
For professional tool wholesalers, foundries, shipyards and automotive plants, the reliability of components such as carbide burrs is an essential part of their operations. You can’t afford for a tool to fail under pressure. But with so many options on the market, how can you tell the difference between a high-performance asset and a low-cost liability?
This guide goes beyond the surface. We’ll explore the critical types and shapes of burrs and the common issues we’ve encountered. Then we’ll pull back the curtain on the manufacturing process — specifically the brazing and inspection — that sets Galiptools burrs apart from the competition.
Galiptools offers high-quality carbide burrs that are highly resistant to bending and breaking. We also provide excellent OEM services, custom packaging, and logo options.
Galiptools also has a high production capacity to meet demand for bulk orders.
What Exactly is a Carbide Burr, Anyway?
Before we get into the engineering, let’s start with a quick baseline. A carbide burr, also known as a carbide rotary file or “die grinder bit,” is a rotary cutting tool used for removing, shaping, and finishing material.
Think of it as a high-speed, heavy-duty file for your die grinder.
The “carbide” in the name refers to tungsten carbide, an extremely hard and heat-resistant material. Unlike standard HSS (High-Speed Steel) bits, a carbide burr can be run at higher speeds and can cut much harder materials (like steel, stainless steel, and cast iron) without dulling or breaking down from the heat.
Their primary uses include:
Deburring and cleaning up sharp edges
Removing material (stock removal)
Shaping and carving
Weld preparation and smoothing
A Shape for Every Job: Choosing Your Profile
A burr’s shape dictates its function. Using the wrong shape is like trying to turn a screw with a hammer—it’s inefficient and leads to a poor-quality result. For a wholesaler or a factory manager, stocking the right profiles is essential.
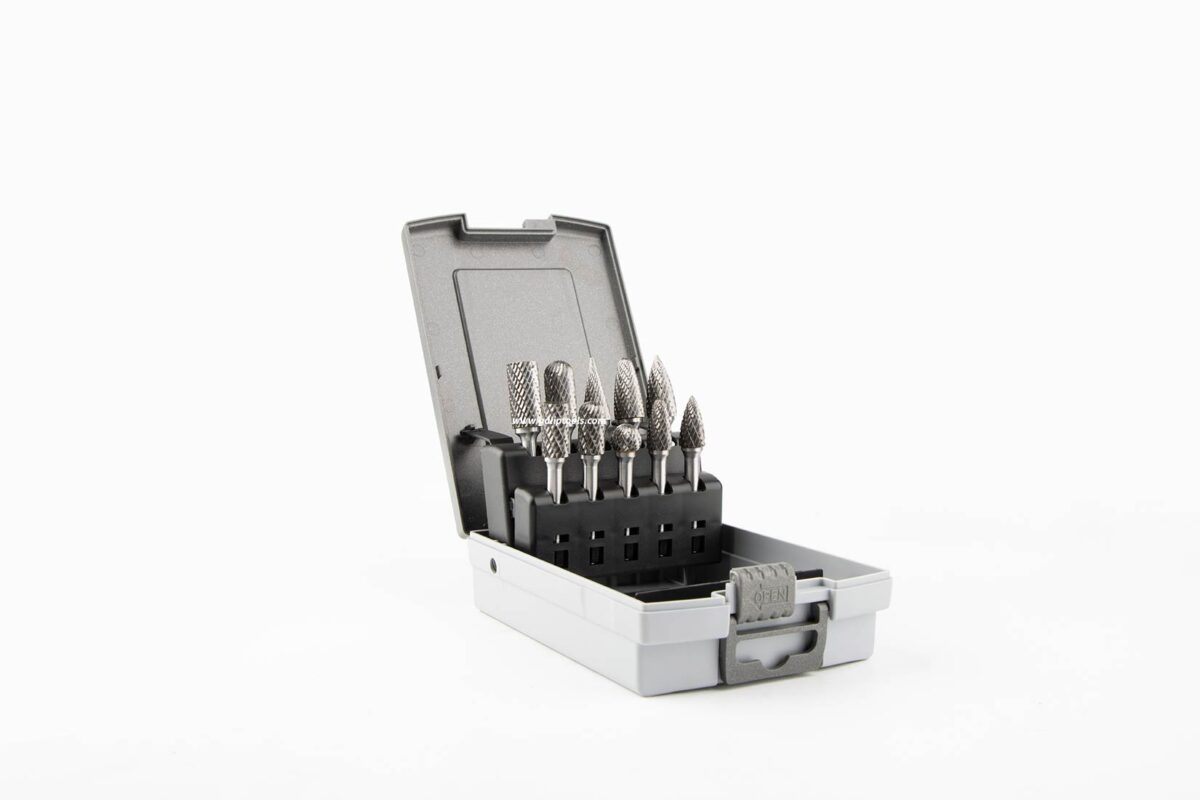
Here are the most common shapes and their primary applications:
Shape A (Cylinder): Perfect for removing material on flat surfaces and finishing square-shouldered corners.
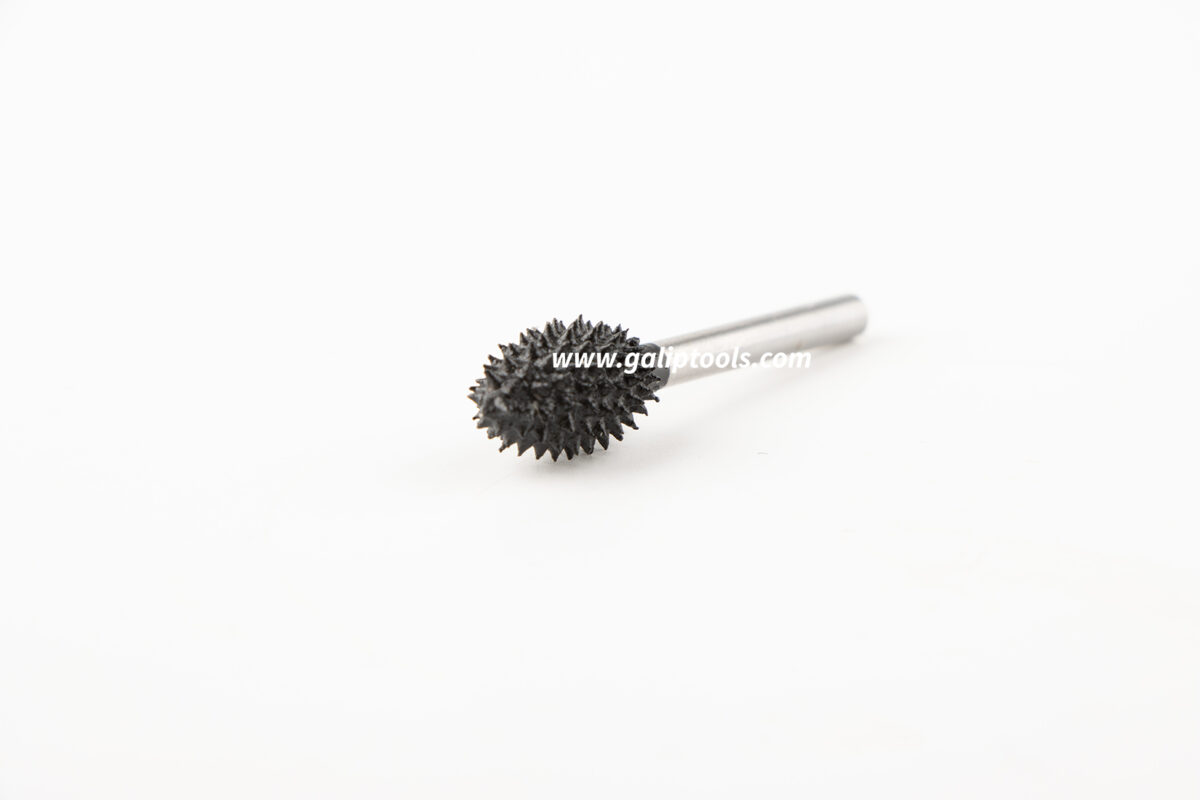
Shape C (Ball / Round): Ideal for creating concave cuts, hollowing out material, and shaping inside of rounded edges.
Shape D (Ball Nosed Cylinder): A great general-purpose burr that combines the flat-surface capability of a cylinder with the curved profile of a ball nose.
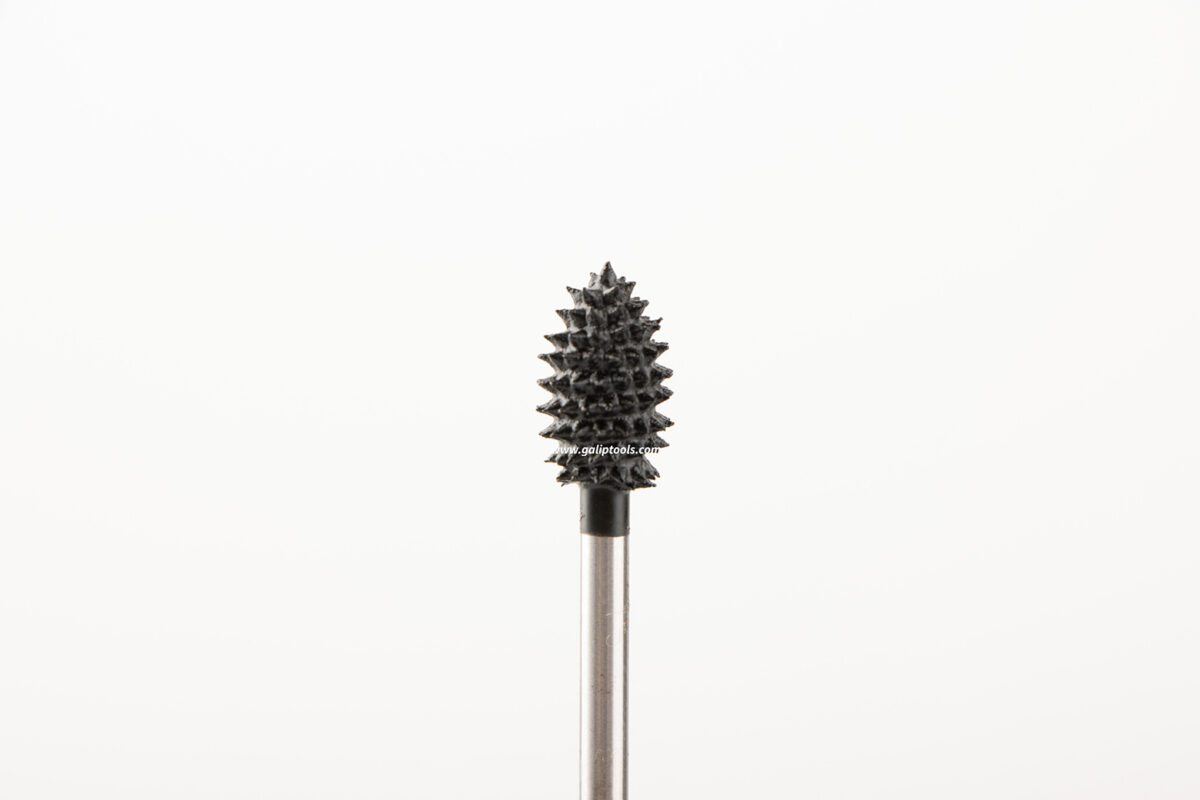
Shape F (Tree – Radius End): One of the most popular shapes. Its tapered profile is excellent for contouring, machining curved surfaces, and getting into tight, angled areas.
Shape G (Tree – Pointed End): Similar to the radius-end tree, but its pointed tip makes it the go-to choice for V-cuts, sharp-angled grooves, and cleaning up in tight corners.
Shape L (Taper – Radius End): A long, tapered shape for deep access into angled contours.
Currently, the F-type and L-type models are in higher demand for heavy industry applications. Meanwhile, the C-type and A-type models are more popular for DIY projects.
Decoding the 'Cut': Single vs. double vs. aluminium.
The ‘cut’ of the burr refers to its flute geometry, which determines how it removes material.
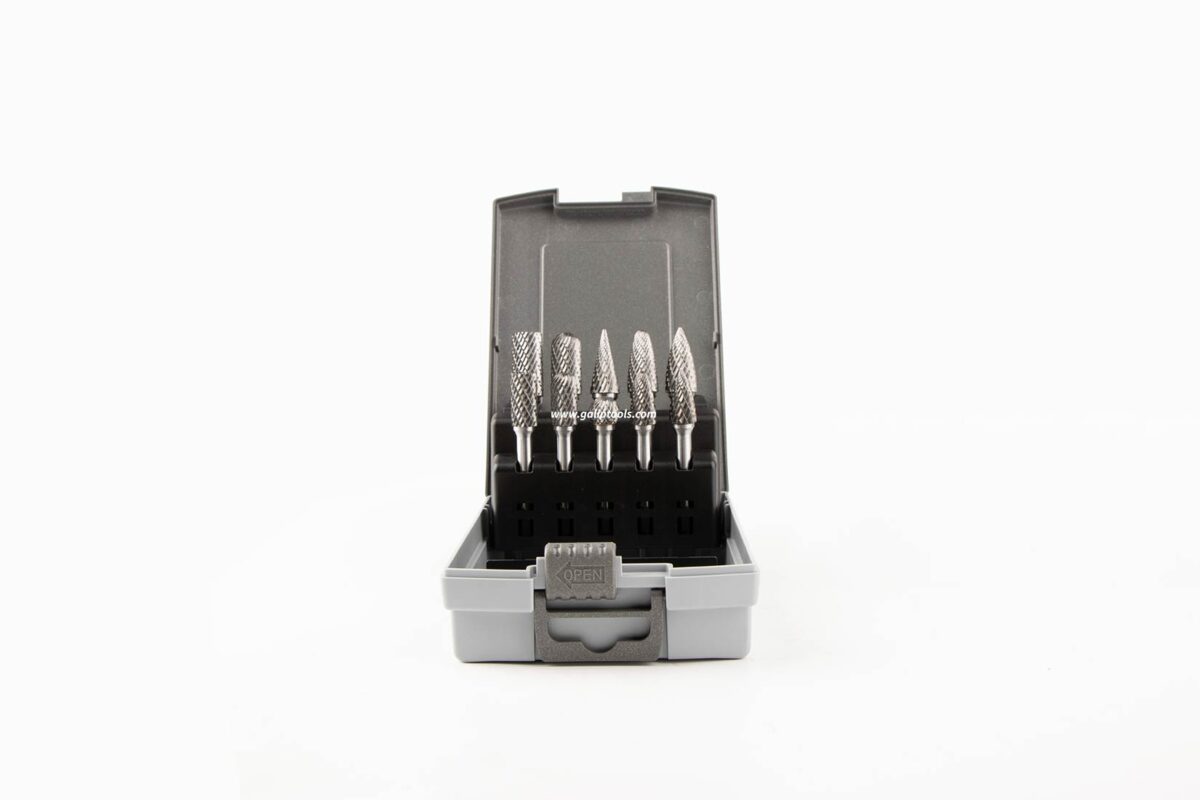
Single cut: It features one long, spiral flute. This design is very aggressive, providing rapid stock removal. It is best suited to hard materials such as steel and cast iron, but it leaves a rougher finish and can be more difficult to control.
Double Cut (Cross Cut): This is the most common and versatile style. It has two sets of flutes cut in opposite directions.
What it does:It breaks material into small, granular chips instead of long, stringy ones.
Why it’s better: This results in a much smoother finish and gives the operator far greater control. It is the standard for general-purpose deburring and finishing on almost all materials.
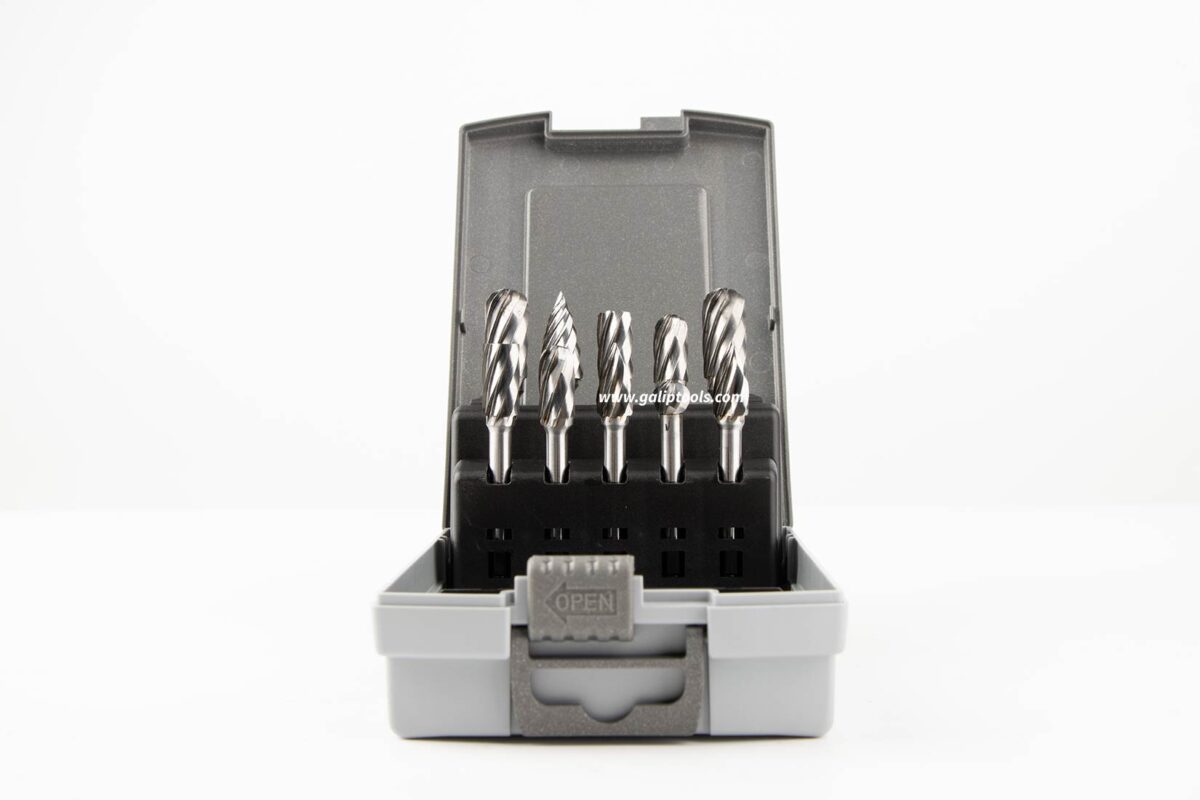
Aluminium cut (non-ferrous): These burrs have very deep, open flutes. This design is specifically engineered to prevent ‘loading’ — the tendency of soft materials such as aluminium, plastic and magnesium to clog the flutes and render the tool useless.
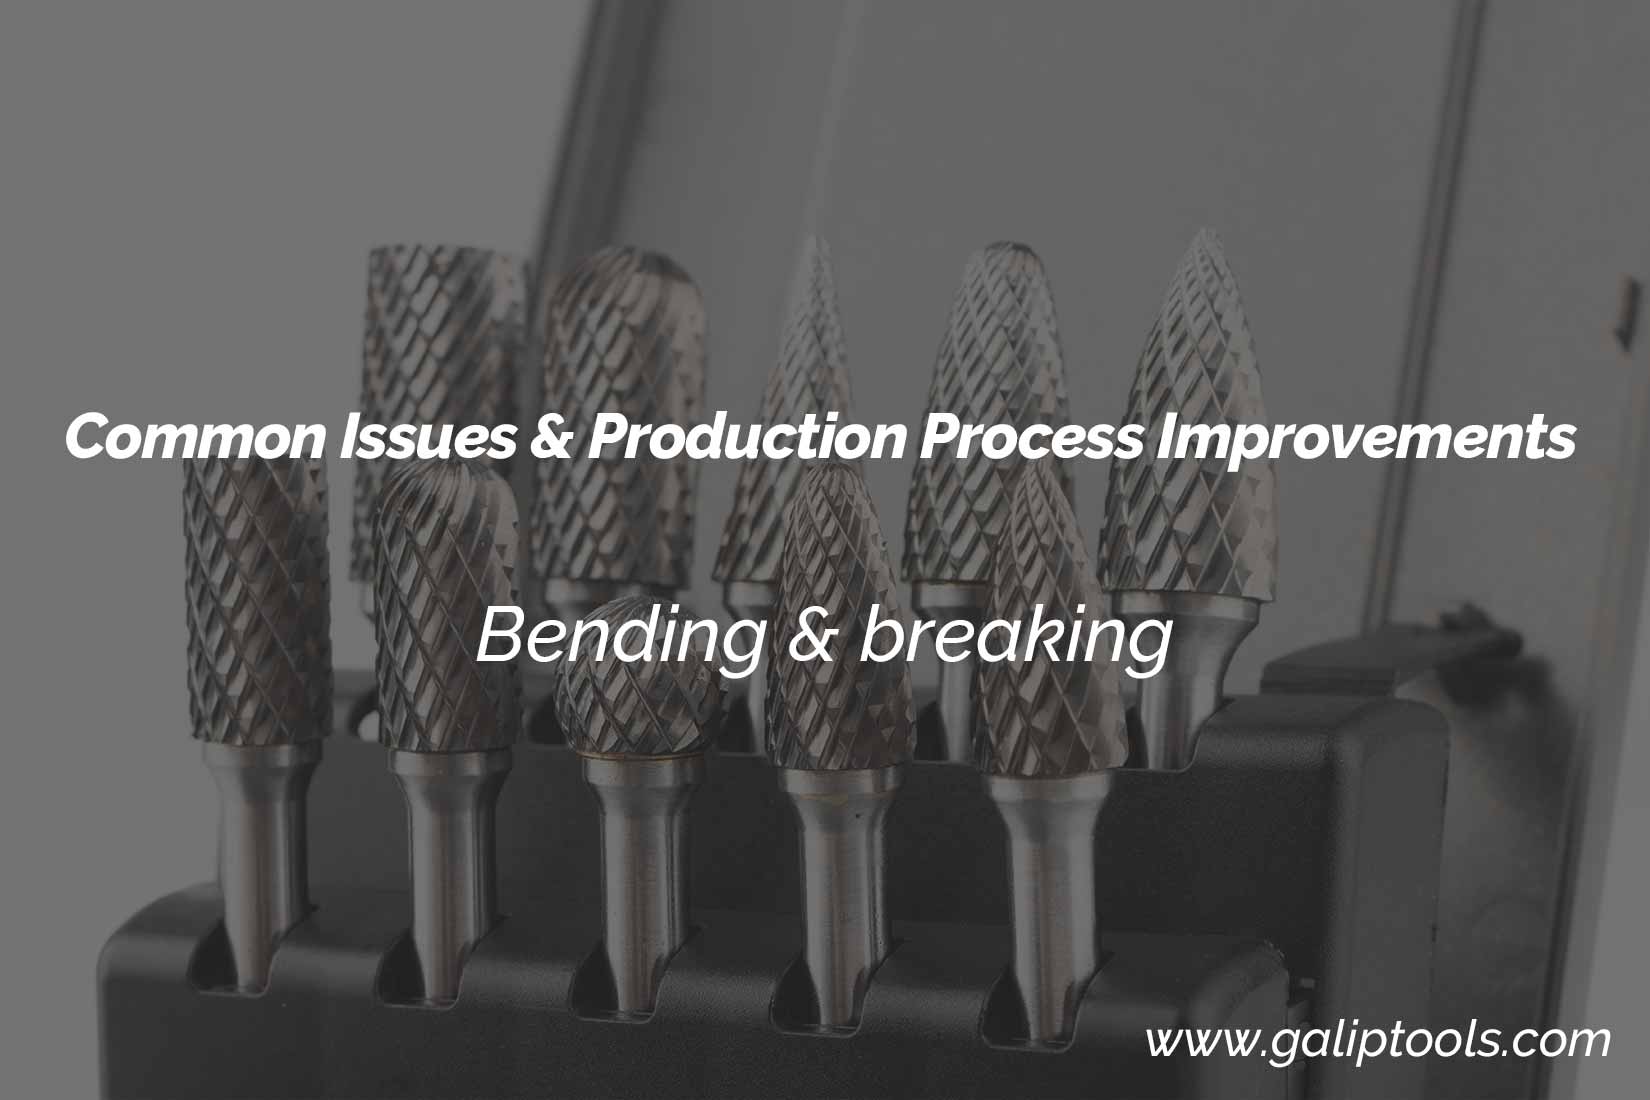
Common issues encountered during the manufacturing process.
1. The carbide head fractures, typically due to residual brazing stresses not being fully relieved, resulting in micro-cracks within the weld seam that cause breakage during use.
2. The shank bends, usually because the selected carbide burr shank is made of ordinary steel with insufficient toughness and lacks final inspection.
Why Our Carbide Rotary Files are the Preferred Supplier for Heavy Industry
Now that we’ve covered the basics, let’s talk about the part you can’t see.
Our products are engineered for the extreme demands of foundries, shipyards, and automotive plants. In these environments, high cutting forces exert significant pressure on the shank and cutting edges of a rotary file. A weak weld or a brittle carbide head won’t just wear out—it will snap.
The stability and quality of our tools hinge on two critical, interconnected factors that we have perfected: The Manufacturing Process and The Inspection Process.
A Deeper Look: The Carbide Burr Manufacturing Process
The single most common point of failure for a carbide burr is the joint between the tungsten carbide head and the steel shank. How this weld is created determines the tool’s strength, durability, and resistance to chatter and breakage.
Copper Brazing – The Old School Process
Let’s be honest, this is the cheap way to make a burr. It’s the method most low-cost manufacturers use. The process involves coating the shank in a copper-based filler, heating it to a scorching 1100°C (2012°F), and letting it cool.
This method has two critical, unacceptable drawbacks for industrial use:
Carbide Damage: Research—and our own experience—shows that when tungsten carbide is heated above 900°C, it begins to oxidize rapidly. The cobalt binder that holds the carbide together starts to liquefy, and the entire internal metallographic structure changes. The carbide is permanently compromised and weakened before it’s ever used.
Micro-Cracks: The massive difference in thermal expansion between the carbide, the steel shank, and the copper filler creates immense stress as the tool cools. This stress results in micro-cracks, which are invisible time bombs waiting to cause a catastrophic failure under load.
Silver Soldering – The Modern Upgrade A far superior approach is silver soldering (or silver brazing). This process uses a specialized silver-based alloy that melts at a much lower temperature, around 700-800°C (1292-1472°F).
This is well below the 900°C danger zone, resulting in minimal or no damage to the properties of the carbide. The silver alloy also creates a significantly stronger and more durable joint.
This method is clearly the winner in terms of performance. But at Galiptools, we’ve taken it two steps further.
The Galiptools Method: Automated Silver Brazing & Stress Control.
It’s not just silver brazing that we use; we’ve built a unique, automated process around it to create a burr with unmatched integrity.
We utilize a silver brazing material: It’s designed to significantly reduce welding stress on its own, preventing micro-cracks while achieving a much higher final brazing strength. The welded seam is dense with uniform width. The interface near the carbide side is smooth, and the joint exhibits good adhesion to the steel side.
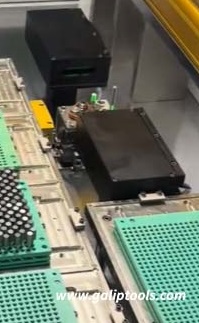
Automated Induction Welding: This is crucial. We employ automated electromagnetic induction brazing equipment. There is no manual torch work. The carbide insert and steel shank undergo an automatic butt brazing process. This eliminates human error, ensures absolute consistency, provides rapid, precise temperature control, and guarantees excellent coaxiality (perfect alignment) between the head and the shank.
Post-Weld Stress Relief: A weld, no matter how good, creates some residual stress. If this stress isn’t relieved, the burr can still crack after the teeth are cut or during prolonged, heavy use. We perform essential post-welding heat treatments—such as tempering—to reduce this stress to near-zero.
Next comes carbide burrs inspection.
Even a perfect process demands a perfect inspection. We don’t just carry out a “spot check” at the end of the production line.
We use dynamic inspection methods throughout the entire production process.
Advanced equipment such as lasers, infrared thermometers, metallurgical microscopes and scanning electron microscopes are used to examine the microstructure and residual stress distribution at the brazed interface. This verifies that the weld is flawless at a microscopic level.
Finally, every burr undergoes a physical test. We test the bending strength of the shank after brazing by applying a specified pressure. This evaluates the product’s real-world resistance to bending and snapping.
Any product that fails to meet these exacting standards is eliminated. This is our guarantee of quality.
Getting the Most from Your Burr: A Quick Application Guide
Owning a superior tool is the first step; using it correctly is the second.
Safety First: Always wear the appropriate personal protective equipment (PPE), including safety glasses (or a full face shield), gloves and a dust mask.
Secure your workpiece. Never hold your workpiece by hand. Use a vice or clamps instead. If a burr grabs an unsecured piece, it can turn into a dangerous projectile.
Use the right tool: Carbide burrs are designed for high-speed die grinders, not standard electric drills. A drill does not have the necessary speed (RPM) to enable the carbide to cut efficiently.
Let the tool do the work. The biggest mistake is applying too much pressure. Forcing the tool in this way can cause it to chip, dig in or break. Instead, use light, consistent pressure and allow the high speed of the burr to do the cutting.
Keep it moving: Don’t let the burr rest in one spot. This will generate excessive heat, which can burn or melt the workpiece. Use a continuous back-and-forth or orbital motion.
Your Solution for Reliable Tools
When sourcing tools for a demanding, high-stakes environment, guesswork is not an option. There’s a world of difference between a low-cost burr and a Galiptools burr: the former is a hidden liability, while the latter is a certified, reliable asset.
Stop compensating for tool failure and start investing in process integrity.
Contact the Galiptools team today to request a technical consultation, receive our latest catalogue or discuss how our manufacturing expertise can enhance your operational reliability.